Before creating my final piece, I will need to see how possible it is for me to grow microbes in the way I have initially envisioned.
As the places I want to take samples from – painted walls, blue tac, screw heads etc – are not particularly smooth, at least from the perspective of a microbe (something I can explore further using the White Light Profilometer) it may be difficult to collect a viable sample. The microbes could simply stay concealed in the ridges of the surface, while the sampling loop or cotton bud sweeps over-top. I need to be able to recover enough that they will grow on agar.
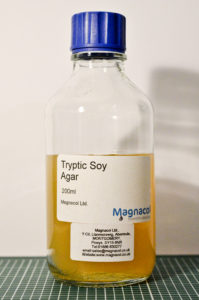
I am using Tryptic Soy Agar – I couldn’t get a consistent answer between my contacts at MMU and the manufacturer as to whether this is totally animal-free but it seems the best available option to me all round. The confirmed animal-free brands are only available for large labs to buy in bulk.
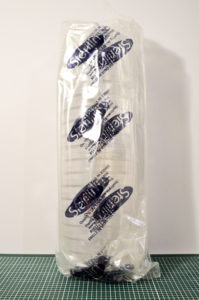
I also have some plastic Petri dishes for these tests. My final piece will be in glass Petri dishes because I feel this will be higher quality and enhance the controlled aesthetic of the work. (This approach was inspired by a bread-making performance workshop I attended at the Brighton Museum led by Alice Lunt, where all the utilises were glass and wood. Since then I have paid a lot more attention to the details of materials used in my work). The Petri dishes arrive sterile, so I only opened them right before they are needed. I have sterilised the area around where they will be placed, as well as my hands, using anti-bacterial gel.
The agar needs to be boiled in a water bath until it turns from a firm gel to a liquid (Dr. Möller& Schmelz GmbH, 2014). From practice I found this takes around 15 minutes.

Once it is liquid, I allow it to cool for a few minutes before pouring into the Petri dishes. I didn’t have the means to measure the exact amount of agar pourd, but I have learned that to inoculate using the ‘streak’ method in these 90mm dishes, there should be 15-20ml (Dr. Möller& Schmelz GmbH, 2014), so I aimed visually for a scant 1/10th of the total 200mls of liquid.


I have accidently left a small area of lumpy agar! It should be smooth, like in the top image.

When I prepare the dishes for my final piece I will ensure that it is liquefied thoroughly. The dishes should appear smooth, like this:
Once the dishes are poured and cooled, they can be used straight away or kept in a refrigerator for a few days before being inoculated. I have also noted that the lids collect condensation if they are placed over the hot agar too soon. To avoid this in my final work I will allow the agar to cool fully before placing the lids on top. Inoculated plates should also be stored top down (ibid). This avoids water dripping onto the culture.

References:
Lunt, A. (2015) Bread-making performance workshop at Brighton Museum, December 2015.
Möller& Schmelz GmbH (2014) Instruction for Use of Ready-to-use Agar. [ONLINE] Available at: http://www.dr-moeller-und-schmelz.de/downloads/Instruction%20for%20use%20Ready%20to%20Use%20Media.pdf. [Accessed 20 January 2017].